> ## Documentation Index
> Fetch the complete documentation index at: https://docs.fireworks.ai/llms.txt
> Use this file to discover all available pages before exploring further.
# Training Guide: UI
> Launch RFT jobs using the Fireworks dashboard
**Reinforcement Fine-Tuning (RFT)** is free for models under 16B parameters. When creating an RFT job in the UI, filter for free tuning models in the model selection area on the [fine-tuning creation page](https://app.fireworks.ai/dashboard/fine-tuning/create). If kicking off jobs from the terminal, you can find the model ID from the [Model Library](https://app.fireworks.ai/models?filter=LLM\&tunable=true). Note: SFT and DPO jobs are billed per training token for all model sizes—see the [pricing page](https://fireworks.ai/pricing) for details.
The Fireworks RFT UI provides a visual interface for creating RFT jobs, with guided parameter selection. Results for all jobs can also be found in the UI.
## When to use Web UI
Start with the UI to learn the options, then switch to [CLI](/fine-tuning/cli-reference) for faster iteration and automation. Remember, your results will always live in the UI.
| Feature | CLI (eval-protocol) | Web UI |
| ----------------------- | ----------------------------- | ----------------------------- |
| **Best for** | Experienced users, automation | First-time users, exploration |
| **Parameter discovery** | Need to know flag names | Guided with tooltips |
| **Speed** | Fast - single command | Slower - multiple steps |
| **Automation** | Easy to script and reproduce | Manual process |
| **Batch operations** | Easy to launch multiple jobs | One at a time |
| **Reproducibility** | Excellent - save commands | Manual tracking needed |
## Launch training via Web UI
1. Go to [Fireworks Dashboard](https://app.fireworks.ai)
2. Click **Fine-Tuning** in the left sidebar
3. Click **Fine-tune a Model**
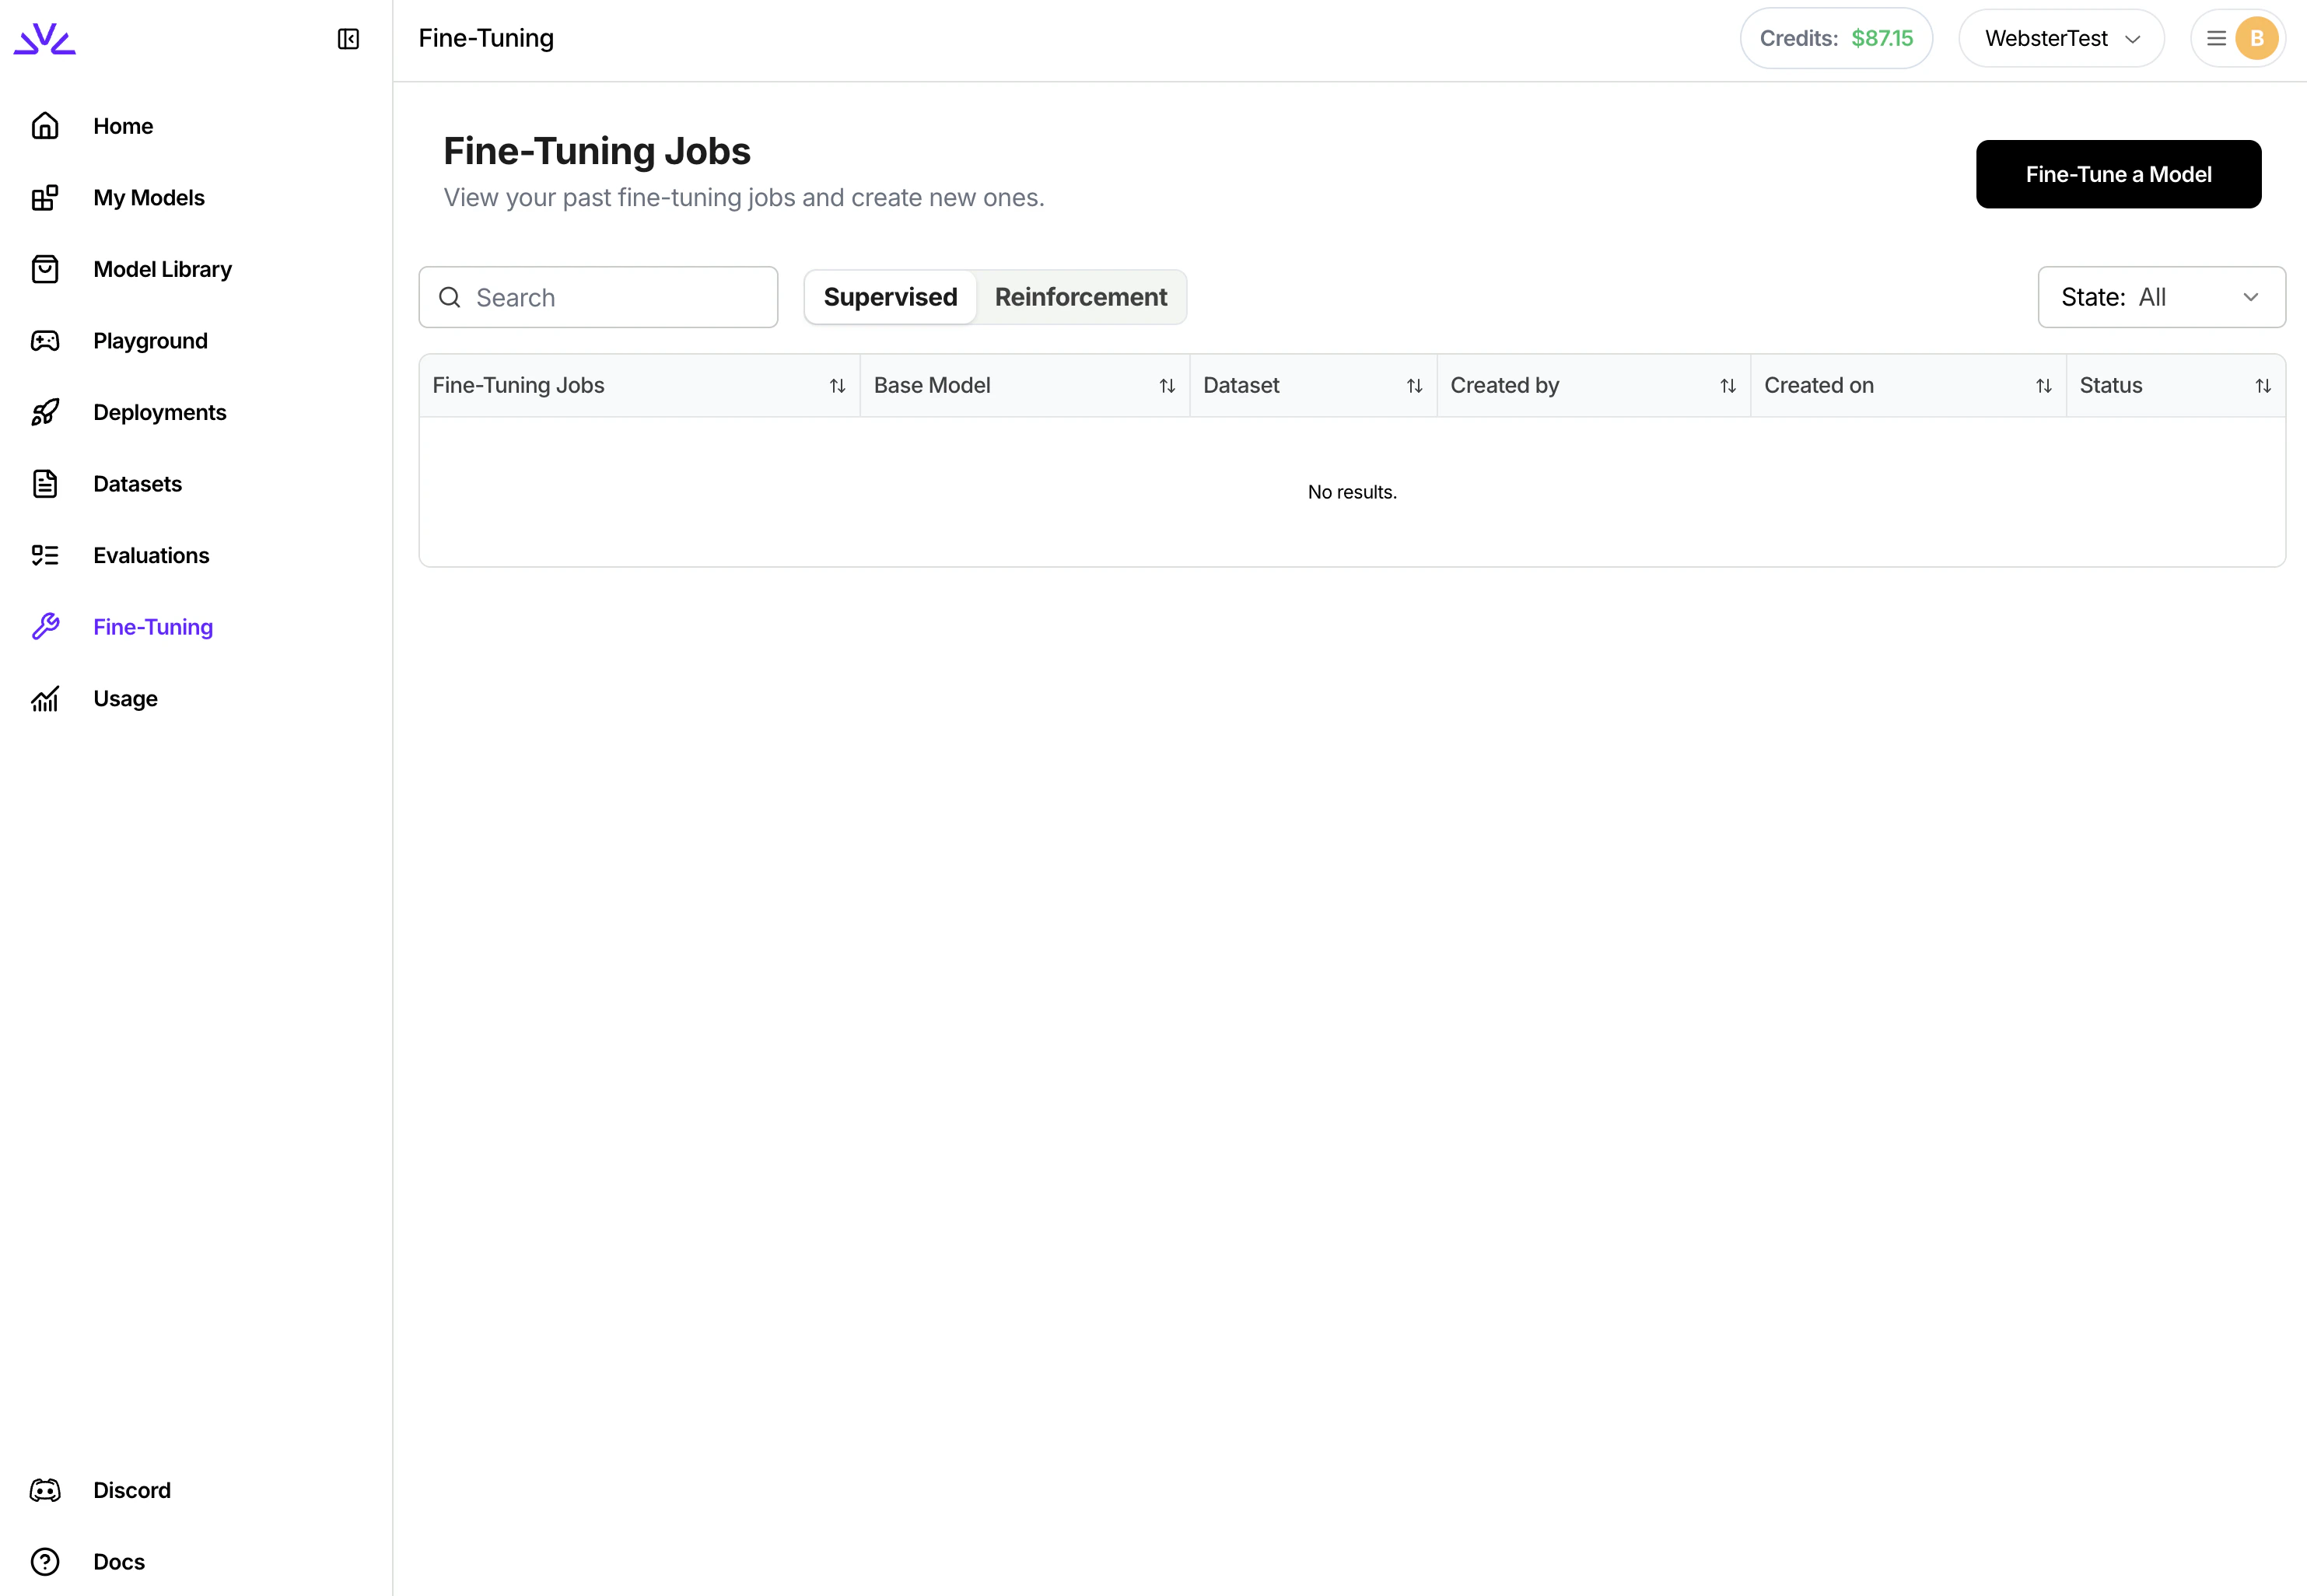 1. Choose **Reinforcement** as the tuning method
2. Select your base model from the dropdown
The UI shows only models that support fine-tuning. Popular choices appear at the top.
Not sure which model to choose? Start with `llama-v3p1-8b-instruct` for a good balance of quality and speed.
1. **Upload new dataset** or **select existing** from your account
2. Preview dataset entries to verify format
3. The UI validates your JSONL format automatically
1. Choose **Reinforcement** as the tuning method
2. Select your base model from the dropdown
The UI shows only models that support fine-tuning. Popular choices appear at the top.
Not sure which model to choose? Start with `llama-v3p1-8b-instruct` for a good balance of quality and speed.
1. **Upload new dataset** or **select existing** from your account
2. Preview dataset entries to verify format
3. The UI validates your JSONL format automatically
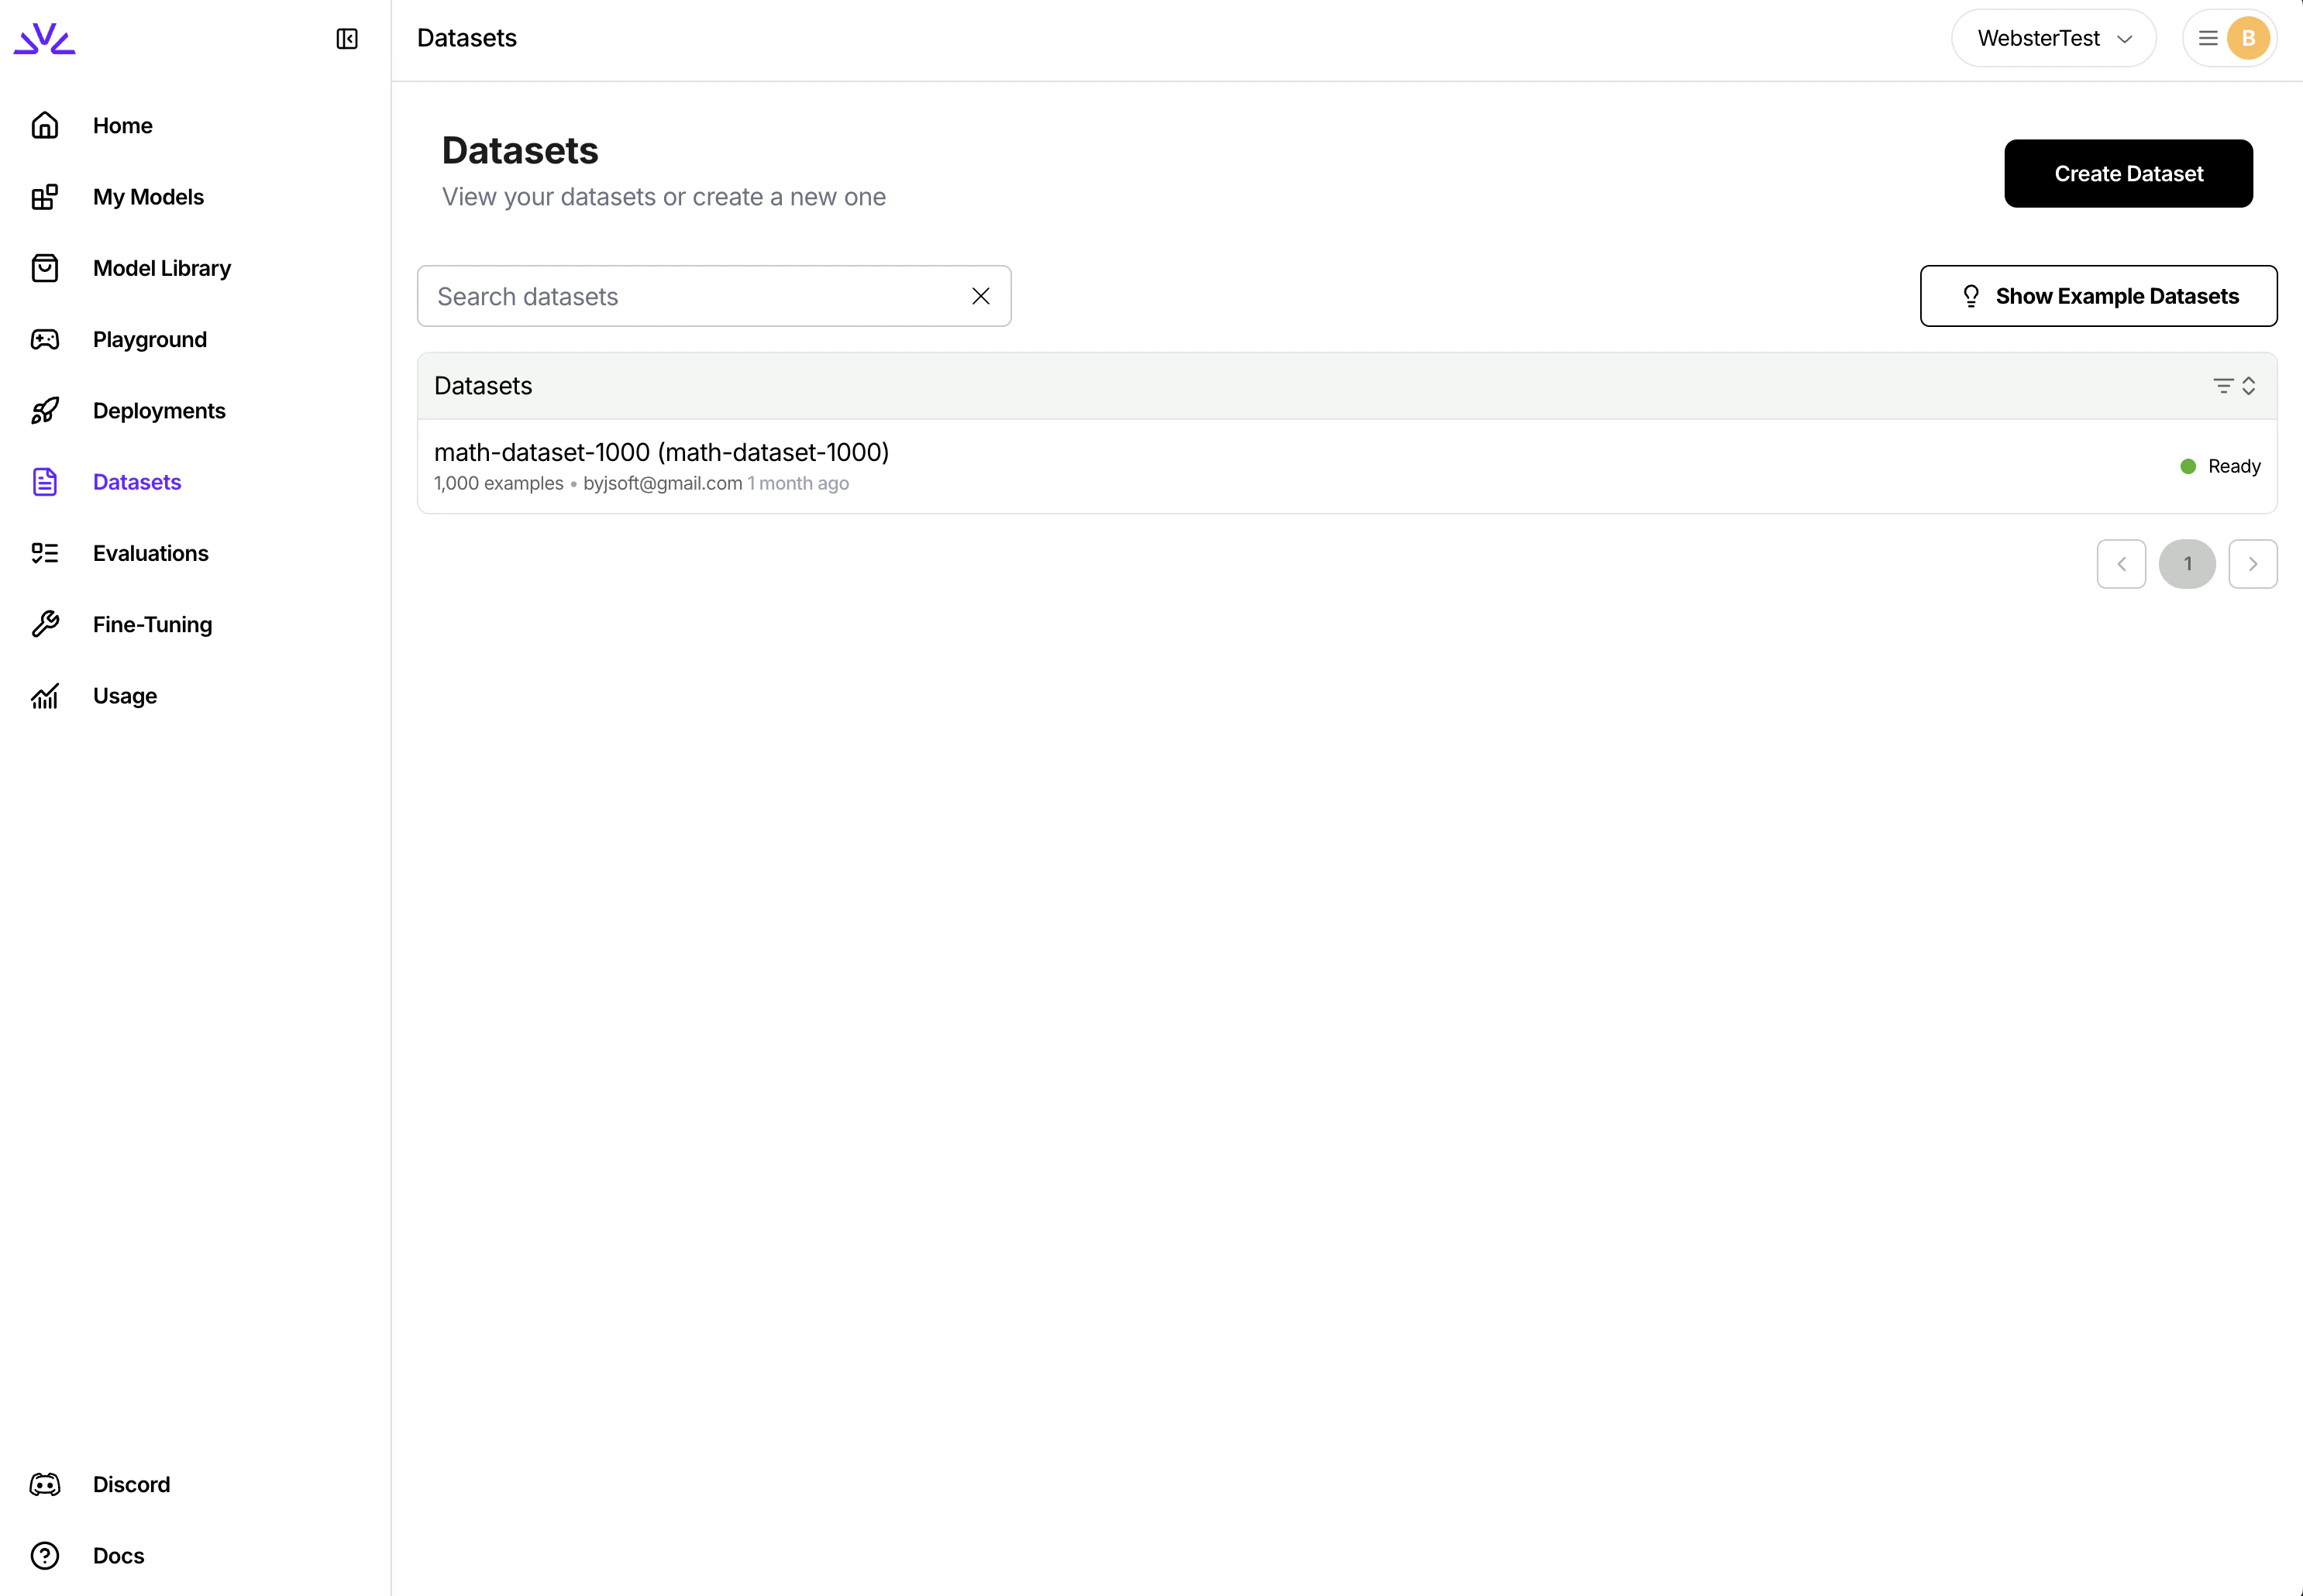 Each dataset row should have `messages` array:
```json theme={null}
{
"messages": [
{"role": "system", "content": "You are a helpful assistant."},
{"role": "user", "content": "What is 25 * 4?"}
]
}
```
1. Choose from your uploaded evaluators
2. Preview evaluator code and test results
3. View recent evaluation metrics
If you haven't uploaded an evaluator yet, you'll need to do that first via CLI:
```bash theme={null}
pytest my-evaluator-name.py -vs
```
For remote evaluators, you'll enter your server URL in the environment configuration section.
Configure how the model learns:
**Core parameters**:
* **Output model name**: Custom name for your fine-tuned model
* **Epochs**: Number of passes through the dataset (start with 1)
* **Learning rate**: How fast the model updates (use default 1e-4)
* **LoRA rank**: Model capacity (8-16 for most tasks)
* **Batch size**: Training throughput (use default 32k tokens)
The UI shows helpful tooltips for each parameter. See [Parameter Tuning](/fine-tuning/parameter-tuning) for detailed guidance.
Control how the model generates responses during training:
* **Temperature**: Sampling randomness (0.7 for balanced exploration)
* **Top-p**: Probability mass cutoff (0.9-1.0)
* **Top-k**: Token candidate limit (40 is standard)
* **Number of rollouts (n)**: Responses per prompt (4-8 recommended)
* **Max tokens**: Maximum response length (2048 default)
Higher temperature and more rollouts increase exploration but also cost.
1. Review all settings in the summary panel
2. See estimated training time and cost
3. Click **Start Fine-Tuning** to launch
The dashboard will redirect you to the job monitoring page where you can track progress in real-time.
## Next steps
Review requirements, validation, and common errors
Track job progress, inspect rollouts, and debug issues
Learn how to adjust parameters for better results
Each dataset row should have `messages` array:
```json theme={null}
{
"messages": [
{"role": "system", "content": "You are a helpful assistant."},
{"role": "user", "content": "What is 25 * 4?"}
]
}
```
1. Choose from your uploaded evaluators
2. Preview evaluator code and test results
3. View recent evaluation metrics
If you haven't uploaded an evaluator yet, you'll need to do that first via CLI:
```bash theme={null}
pytest my-evaluator-name.py -vs
```
For remote evaluators, you'll enter your server URL in the environment configuration section.
Configure how the model learns:
**Core parameters**:
* **Output model name**: Custom name for your fine-tuned model
* **Epochs**: Number of passes through the dataset (start with 1)
* **Learning rate**: How fast the model updates (use default 1e-4)
* **LoRA rank**: Model capacity (8-16 for most tasks)
* **Batch size**: Training throughput (use default 32k tokens)
The UI shows helpful tooltips for each parameter. See [Parameter Tuning](/fine-tuning/parameter-tuning) for detailed guidance.
Control how the model generates responses during training:
* **Temperature**: Sampling randomness (0.7 for balanced exploration)
* **Top-p**: Probability mass cutoff (0.9-1.0)
* **Top-k**: Token candidate limit (40 is standard)
* **Number of rollouts (n)**: Responses per prompt (4-8 recommended)
* **Max tokens**: Maximum response length (2048 default)
Higher temperature and more rollouts increase exploration but also cost.
1. Review all settings in the summary panel
2. See estimated training time and cost
3. Click **Start Fine-Tuning** to launch
The dashboard will redirect you to the job monitoring page where you can track progress in real-time.
## Next steps
Review requirements, validation, and common errors
Track job progress, inspect rollouts, and debug issues
Learn how to adjust parameters for better results